
Oh, there’s nothing quite like watching a child’s face light up when they see their communion cake—especially when it’s a torta farcita comunione bambino! This layered beauty isn’t just a dessert; it’s a centerpiece, a memory-maker. I remember the first time I made one for my niece’s communion—the way the creamy layers and fresh berries made it feel like a little slice of heaven. And guess what? It’s easier than it looks! Soft vanilla cake, silky pastry cream, and a cloud of whipped cream come together in the most festive (and delicious) way. Trust me, this cake will have everyone asking for seconds—and the recipe!
Ingredients for Torta Farcita Comunione Bambino
(Don’t worry—these are all simple, easy-to-find ingredients. Just measure, mix, and watch the magic happen!)
- 500g all-purpose flour (spoon and level it—don’t pack it down!)
- 300g sugar (regular granulated works perfectly)
- 200g butter, softened (leave it out for 30 minutes—it should dent when pressed)
- 4 large eggs (room temp helps them blend smoothly)
- 250ml milk (whole milk makes it extra tender)
- 1 packet baking powder (about 2 tsp—check expiration dates!)
- 1 tsp vanilla extract (real vanilla makes all the difference)
- 500g pastry cream (homemade or store-bought—no judgment!)
- 200g whipped cream (lightly sweetened and whipped to soft peaks)
- Fresh berries (strawberries, raspberries—whatever’s in season)
- Powdered sugar (for that snowy, celebratory dusting)
Tip: I like to weigh my ingredients for accuracy, but if you’re using cups, fluff the flour first and level it off with a knife.
How to Make Torta Farcita Comunione Bambino
Okay, let’s get baking! This cake comes together in three main steps: baking the layers, assembling with all that luscious cream, and decorating like the celebration centerpiece it is. Don’t rush—especially the cooling part (I’ve learned that the hard way!).
Baking the Cake Layers
- Preheat your oven to 180°C (350°F). Grease and flour two round cake pans—this is your insurance policy against stuck cakes!
- In a big bowl, whisk together the flour, sugar, and baking powder. No lumps allowed!
- Add the softened butter, eggs, milk, and vanilla. Mix until just smooth—overmixing makes tough cake, and we want clouds here.
- Divide the batter evenly between the pans (I use a kitchen scale for fairness). Bake for 25–30 minutes until a toothpick comes out clean.
- Let the cakes cool in the pans for 10 minutes, then flip onto a rack. Walk away until they’re completely cool—warm cake + cream = sad, melty mess.
Assembling the Torta Farcita
- Once cool, slice each cake horizontally with a serrated knife (go slow—this is where patience pays off!). You’ll have four layers.
- Place the first layer on your cake stand. Spread a generous layer of pastry cream—I like to pipe it for control, but a spoon works too.
- Repeat with remaining layers, then cover the whole cake with whipped cream. A bench scraper or offset spatula helps smooth it like a pro.
- Pop it in the fridge for at least 1 hour to set. (Resist sneaking a spoonful of cream—I believe in you!)
Decorating the Cake
- Arrange fresh berries on top—go wild with patterns or keep it simple. My niece loves when I spell her initial in raspberries!
- Dust with powdered sugar right before serving (it dissolves if you do it too early).
- Extra festive touch: Add edible gold stars or white chocolate curls for that communion-worthy sparkle.
See? Not scary at all. Just imagine the oohs and aahs when you bring this beauty to the table!
Tips for the Perfect Torta Farcita Comunione Bambino
Want a cake that looks as good as it tastes? Here are my tried-and-true tricks:
- Serrated knife is key—saw gently for clean, even layers. (A hot knife helps too—just run it under warm water!)
- Chill the cake before slicing—30 minutes in the fridge makes it less crumbly.
- Level your layers—if cakes domed, trim the tops flat for stable stacking.
- Cool completely—I’ll say it again: warm cake turns your cream into a puddle.
- Pipe the pastry cream—use a bag with a round tip for perfect, mess-free layers.
- Decorating trick—pat berries dry so they don’t bleed color into the cream.
- Make ahead magic—assemble up to a day before, but add berries and sugar last-minute.
Secret weapon: A lazy Susan makes decorating SO much easier—give it a spin while you frost!
Ingredient Substitutions for Torta Farcita
Ran out of something or need to tweak for dietary needs? No problem—here’s how to adapt without sacrificing flavor:
- Pastry cream swap: Mascarpone mixed with a little sugar and vanilla makes a dreamy, rich alternative. Or use vanilla pudding in a pinch!
- Dairy-free: Coconut milk works beautifully in both the cake and whipped cream (chill the can overnight and scoop out the thick part for whipping).
- Butter substitute: Margarine or coconut oil (solid) can replace butter in the cake layers.
- Egg-free: Try ¼ cup applesauce or mashed banana per egg—just know the texture will be denser.
- Berry alternatives: No fresh fruit? Jam swirls or candied citrus peel add festive flair.
- Gluten-free: Use a 1:1 gluten-free flour blend (I’ve had great results with Bob’s Red Mill).
Pro tip: If using substitutions, do a test batch first—especially for big events like communions!
Serving and Storing Torta Farcita Comunione Bambino
This cake is best served chilled—it keeps the layers firm and the cream perfectly set. Slice with a warm knife (just dip it in hot water and dry quickly) for clean cuts. Leftovers? Cover loosely and refrigerate for up to 3 days (if they last that long!). No freezing—the cream doesn’t love it. Enjoy every heavenly bite!
Nutritional Information for Torta Farcita
Just a heads-up—nutritional values can vary based on brands and ingredient choices (like full-fat vs. low-fat dairy). This is an estimate per slice: roughly 350 calories, with a balance of carbs, protein, and yes, a little indulgence. It’s a celebration cake, after all! For precise numbers, check your specific ingredients’ labels.
Frequently Asked Questions About Torta Farcita
Can I make this communion cake ahead of time?
Absolutely! In fact, I recommend it. Assemble the cake (without berries and powdered sugar) up to a day in advance—just keep it covered in the fridge. Add the fresh decorations right before serving so they stay vibrant.
How long does torta farcita last?
It’s best enjoyed within 2–3 days (stored in the fridge). The cream stays fresh, though the cake may soften slightly over time. Pro tip: If you have leftovers, store them in an airtight container to keep the layers moist.
Can I use frozen berries instead of fresh?
You can, but thaw and drain them very well—excess juice will make the cream soggy. I prefer fresh for texture, but frozen works in a pinch (just pat them dry with paper towels).
What if my cake layers break while slicing?
Don’t panic! Use the whipped cream like “glue” to patch them back together. Once assembled, no one will notice—I’ve salvaged many cakes this way!
Can I turn this into a chocolate communion cake?
Yes! Swap 50g of flour for cocoa powder in the batter, and add chocolate shavings between the layers. Kids (and adults!) go wild for this version.
Share Your Torta Farcita Comunione Bambino
I’d love to see your masterpiece! Did you add a special twist? Maybe a family heirloom decoration or a surprise flavor in the cream? Drop a comment below or tag me on social—nothing makes me happier than seeing these cakes bring joy to celebrations. Now go shine, star baker!
Print
Delicious 4-Layer Torta Farcita Comunione Bambino Recipe
- Total Time: 1 hour
- Yield: 12 servings 1x
- Diet: Vegetarian
Description
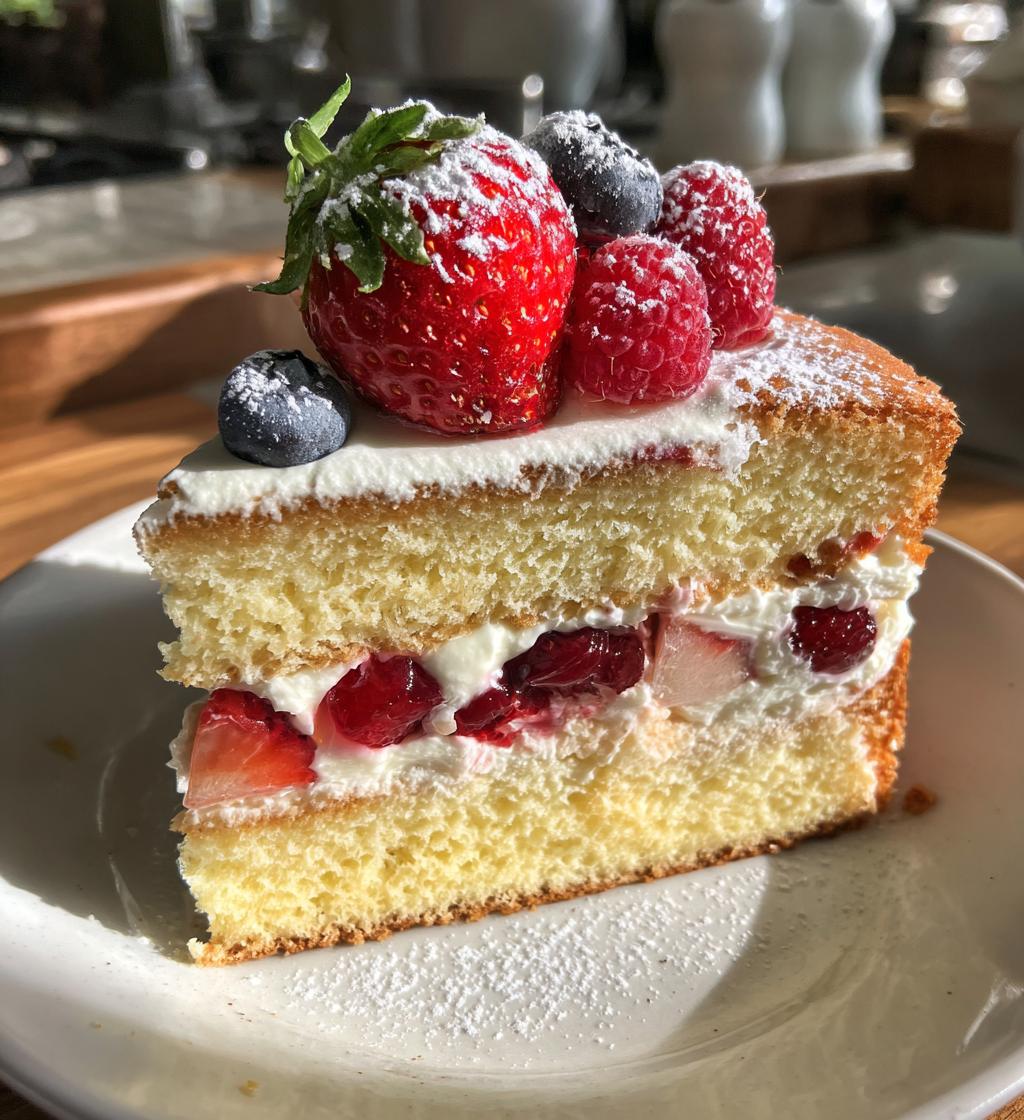
A delicious and festive layered cake perfect for a child’s communion celebration. This cake is filled with creamy layers and decorated to suit the occasion.
Ingredients
- 500g all-purpose flour
- 300g sugar
- 200g butter, softened
- 4 eggs
- 250ml milk
- 1 packet baking powder
- 1 tsp vanilla extract
- 500g pastry cream
- 200g whipped cream
- Fresh berries for decoration
- Powdered sugar for dusting
Instructions
- Preheat oven to 180°C (350°F). Grease and flour two round cake pans.
- In a bowl, mix flour, sugar, and baking powder.
- Add softened butter, eggs, milk, and vanilla extract. Mix until smooth.
- Divide batter evenly between the pans and bake for 25-30 minutes or until a toothpick comes out clean.
- Let cakes cool completely. Slice each cake horizontally to create four layers.
- Spread pastry cream between each layer, then cover the entire cake with whipped cream.
- Decorate with fresh berries and dust with powdered sugar.
Notes
- Ensure cakes are completely cool before assembling to prevent melting the cream.
- Use a serrated knife for even cake layers.
- Refrigerate until ready to serve for best texture.
- Prep Time: 30 minutes
- Cook Time: 30 minutes
- Category: Dessert
- Method: Baking
- Cuisine: Italian
Nutrition
- Serving Size: 1 slice
- Calories: 350
- Sugar: 25g
- Sodium: 150mg
- Fat: 15g
- Saturated Fat: 9g
- Unsaturated Fat: 5g
- Trans Fat: 0g
- Carbohydrates: 45g
- Fiber: 1g
- Protein: 6g
- Cholesterol: 90mg
Keywords: communion cake, layered cake, Italian dessert, celebration cake